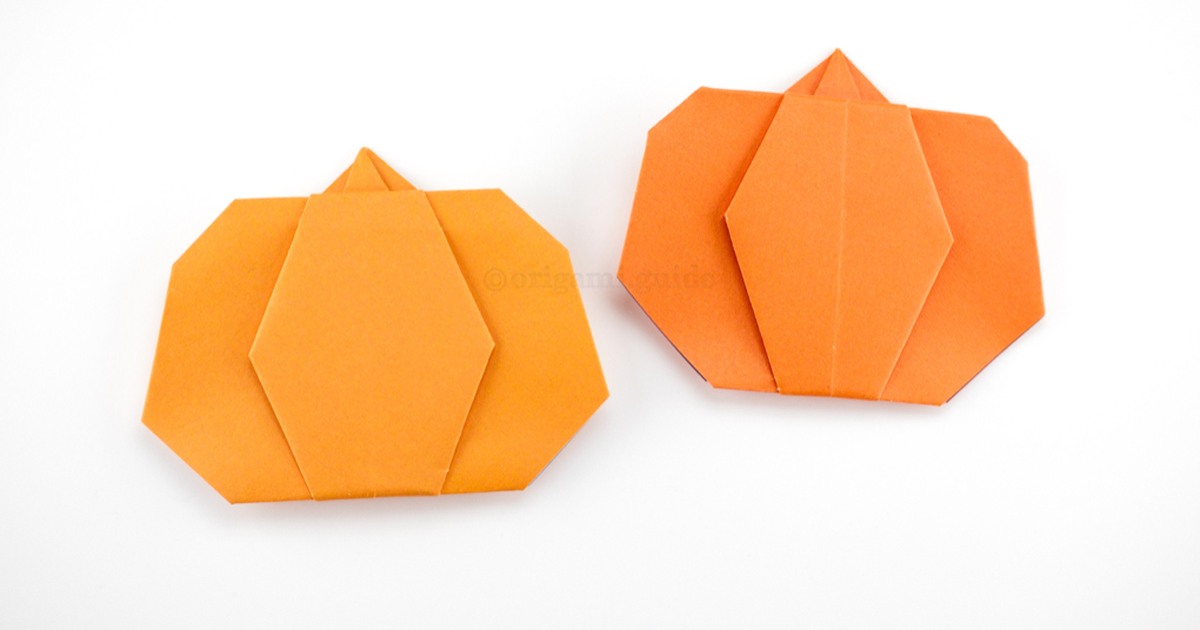
Muse & Co. event
Wednesday Origami: Fold a Pumpkin
Fold an origami pumpkin with us this Wednesday. Follow the illustrated pumpkin handout together, from the first creases to the rounded sides and stem. Children and adults are welcome. Paper is provided, and you may bring your own decorative paper. Wednesday, November 4, 5:00-6:00 PM at Muse & Co, 311 Hay St, Fayetteville. Free and open to the public. RSVP to save a seat, or walk in. Drinks are available for purchase. The original PDF is available to open or print on this event page.
- Date and time
- Location
- Muse & Co - 311 Hay St, Fayetteville, NC
- Price
- Free
Pumpkin Origami
Start with one square sheet of paper. We will make the starting creases, collapse a diamond base, fold matching flaps to the center line, and then shape the pumpkin and its stem. Work at your own pace, making each crease before moving on. The PDF cover is page 1; the first folds are on page 2. The handout combines some actions in one numbered stage; this guide gives each action its own step.
Class handout supplied by Muse & Co. Source photographs and diagrams are marked © origami.guide in the PDF.
Open or print guideStep 1 of 24
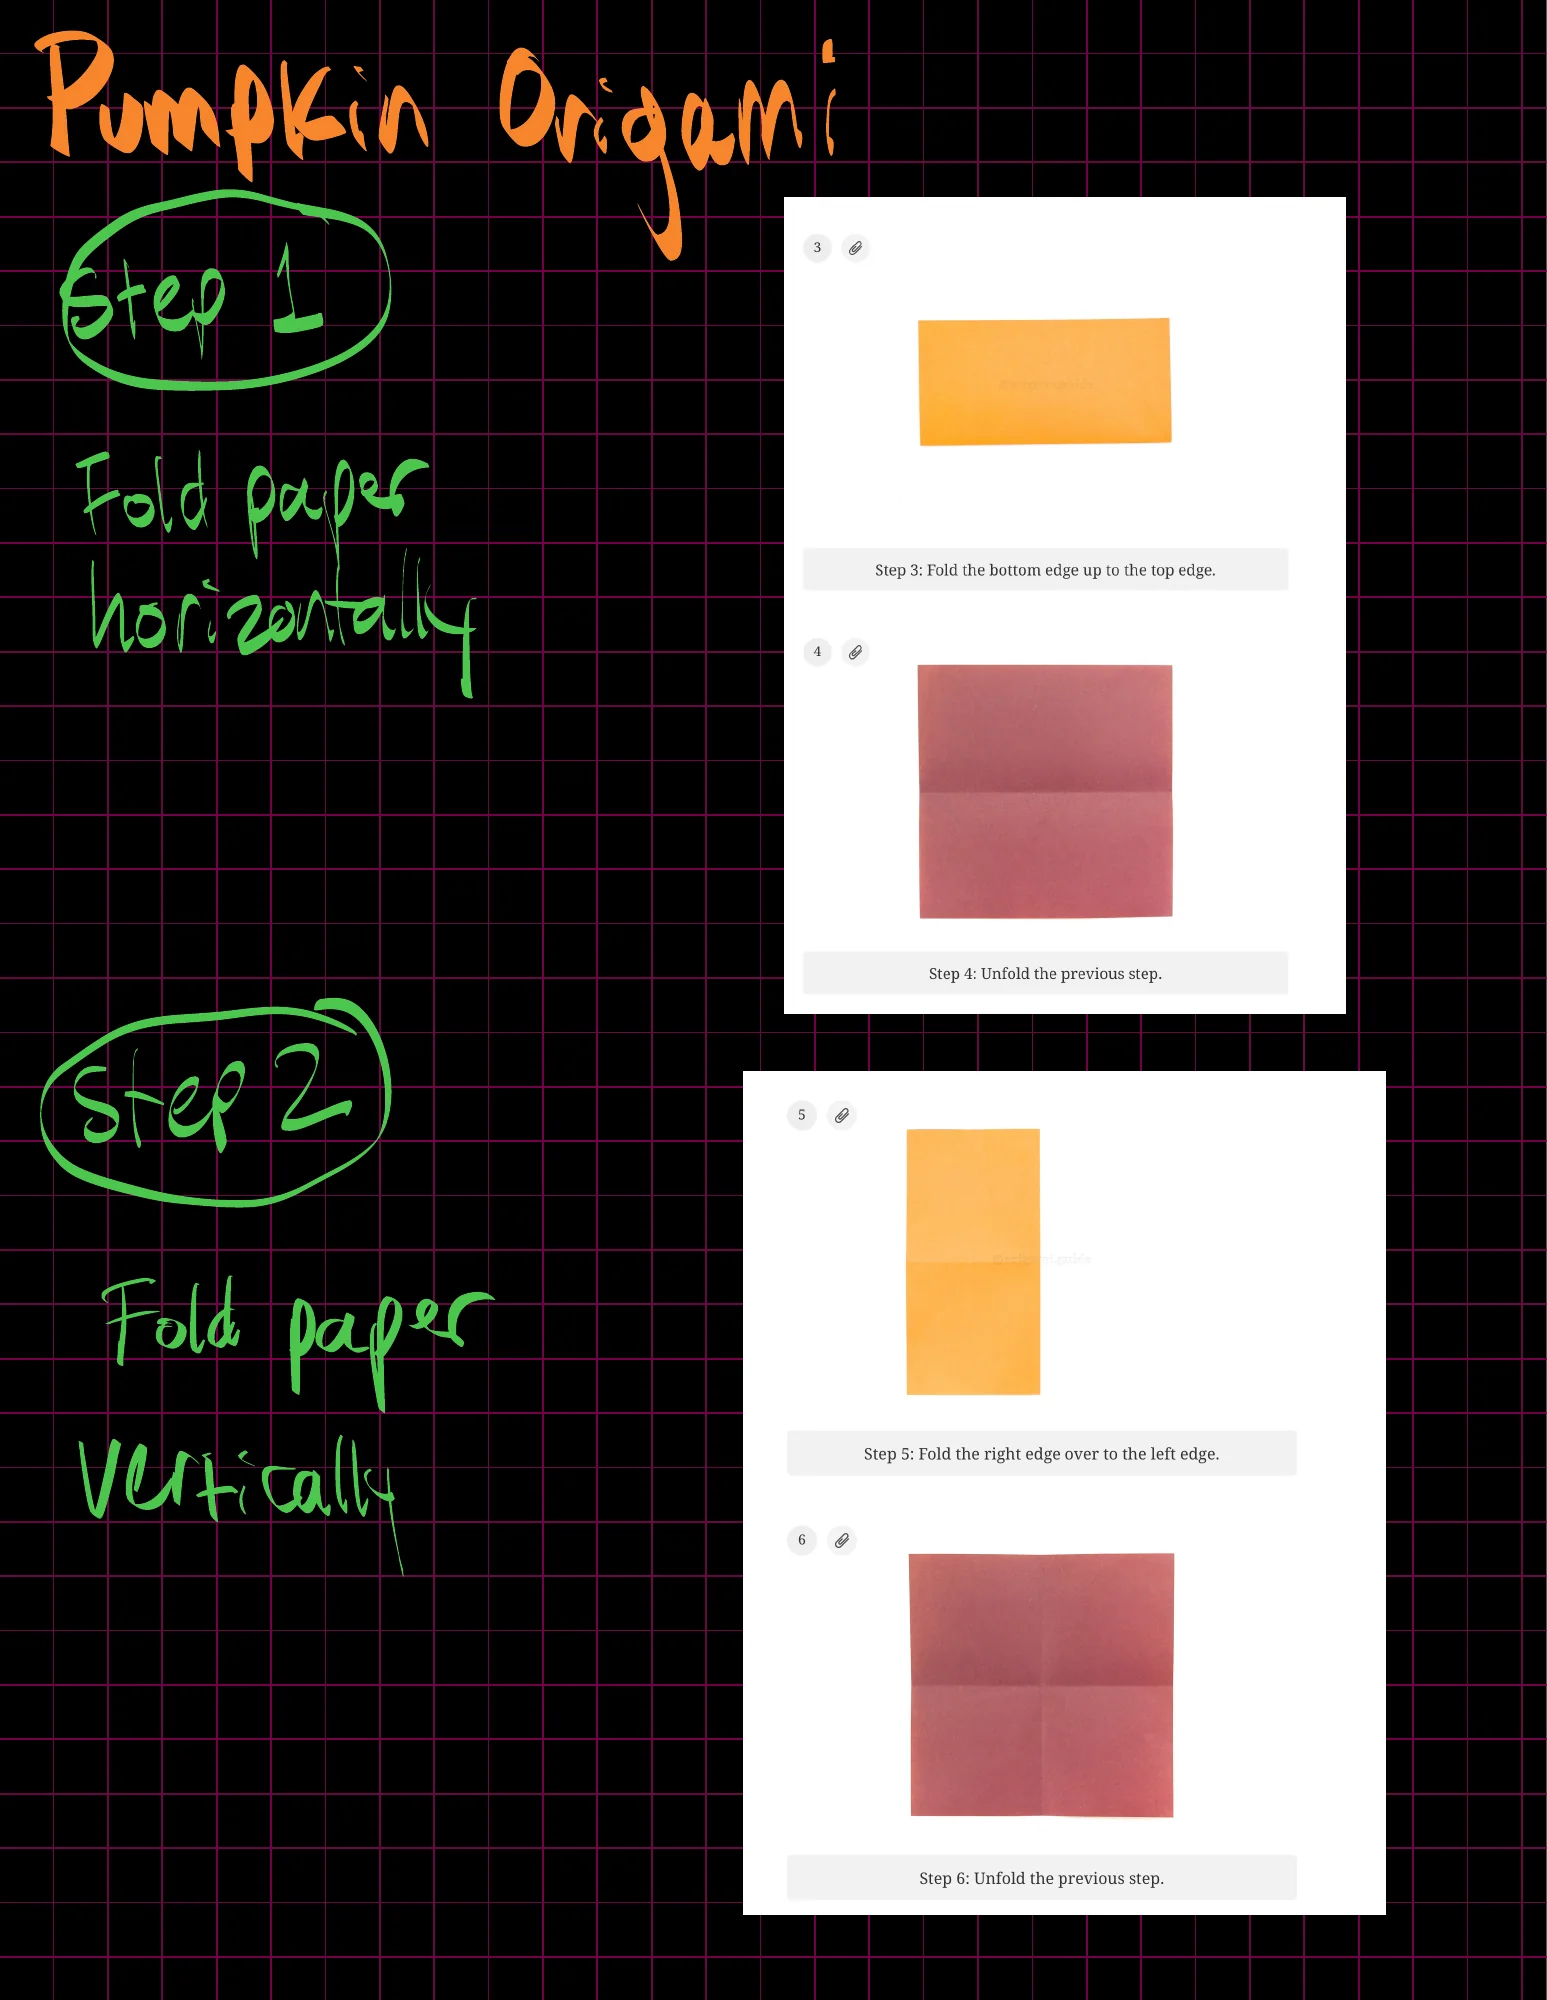
Make a horizontal valley fold: bring the bottom edge up to meet the top edge, then press the crease. A valley fold bends the paper into a V before it is pressed flat.
Open the full source page 2All 24 steps in text
Make a horizontal valley fold: bring the bottom edge up to meet the top edge, then press the crease. A valley fold bends the paper into a V before it is pressed flat.
Unfold the paper back into a square. Check that you can see one horizontal crease across it.
Make a vertical valley fold: bring the right edge over to meet the left edge. Line up the corners, then press the crease.
Unfold the paper again. You should now see a cross made by the horizontal and vertical creases.
Flip the paper to the other side. Rotate it so one point faces up and one faces down, like a diamond.
Bring the bottom point up to meet the top point in a valley fold. Press a horizontal crease across the diamond.
Unfold that last fold back into a diamond. Keep the crease: it will help the base collapse in the next part.
Flip the paper over again, keeping the diamond orientation. Your starting creases are ready.
Gently push the center inward while bringing the left and right outer corners in and down. Let the existing creases guide the paper, then flatten it into a diamond-shaped square base.
Turn only the front right flap across to the left. Check that just one flap remains on the right.
Start the two-part center-line fold. Bring the lower left edge of the front flap inward until it lines up with the vertical center crease, then press it flat.
Finish the two-part fold: bring the upper left edge of that same flap inward to the vertical center crease. Both folded edges should now line up with the center line.
Turn the folded flap over to the right, like turning a page. Keep the whole model in the same position.
Turn the next left flap over to the right. This exposes the flap where you will repeat the two-part fold.
Repeat the first half on this flap: bring its lower right edge inward to meet the vertical center crease.
Repeat the second half: bring its upper right edge inward to meet that same vertical crease. Press both folds flat.
Turn the front-most flap back across to the left. You should see a diamond shape again.
Fold the bottom point behind the model to create the flat base of your pumpkin. Use the photo to guide how much you tuck back.
Fold the top point behind the model, following the photo. Press the fold flat.
Turn the whole model over. You are ready to round the pumpkin and bring out its stem.
Tuck the left and right outer points inward to shape the sides. These are judgment folds: adjust how much you tuck in for a rounder or more square-shaped pumpkin.
Fold the top point up, leaving a small gap to reveal the pumpkin stem.
To help your pumpkin stand, tuck the lower points a little farther inward. Adjust gently until the base can balance on a flat surface.
Your pumpkin is finished. Stand it up or leave it flat, and draw a friendly or spooky face on the front if you like.